Member Login
Join
Accessibility Tools
Mode
Font Size
A
-
A
A
+
Accessibility
Notifications
View All Updates
Mark All Read
fiction
Home
About Us
Members
Artist Albums
Browse Albums
Blogs
Browse Entries
Forums
Groups
Browse Groups
Videos
Browse Videos
Resources
Library
Gallery Code
Photo 5 of 7 in Victorian Inspired
Prev
Next
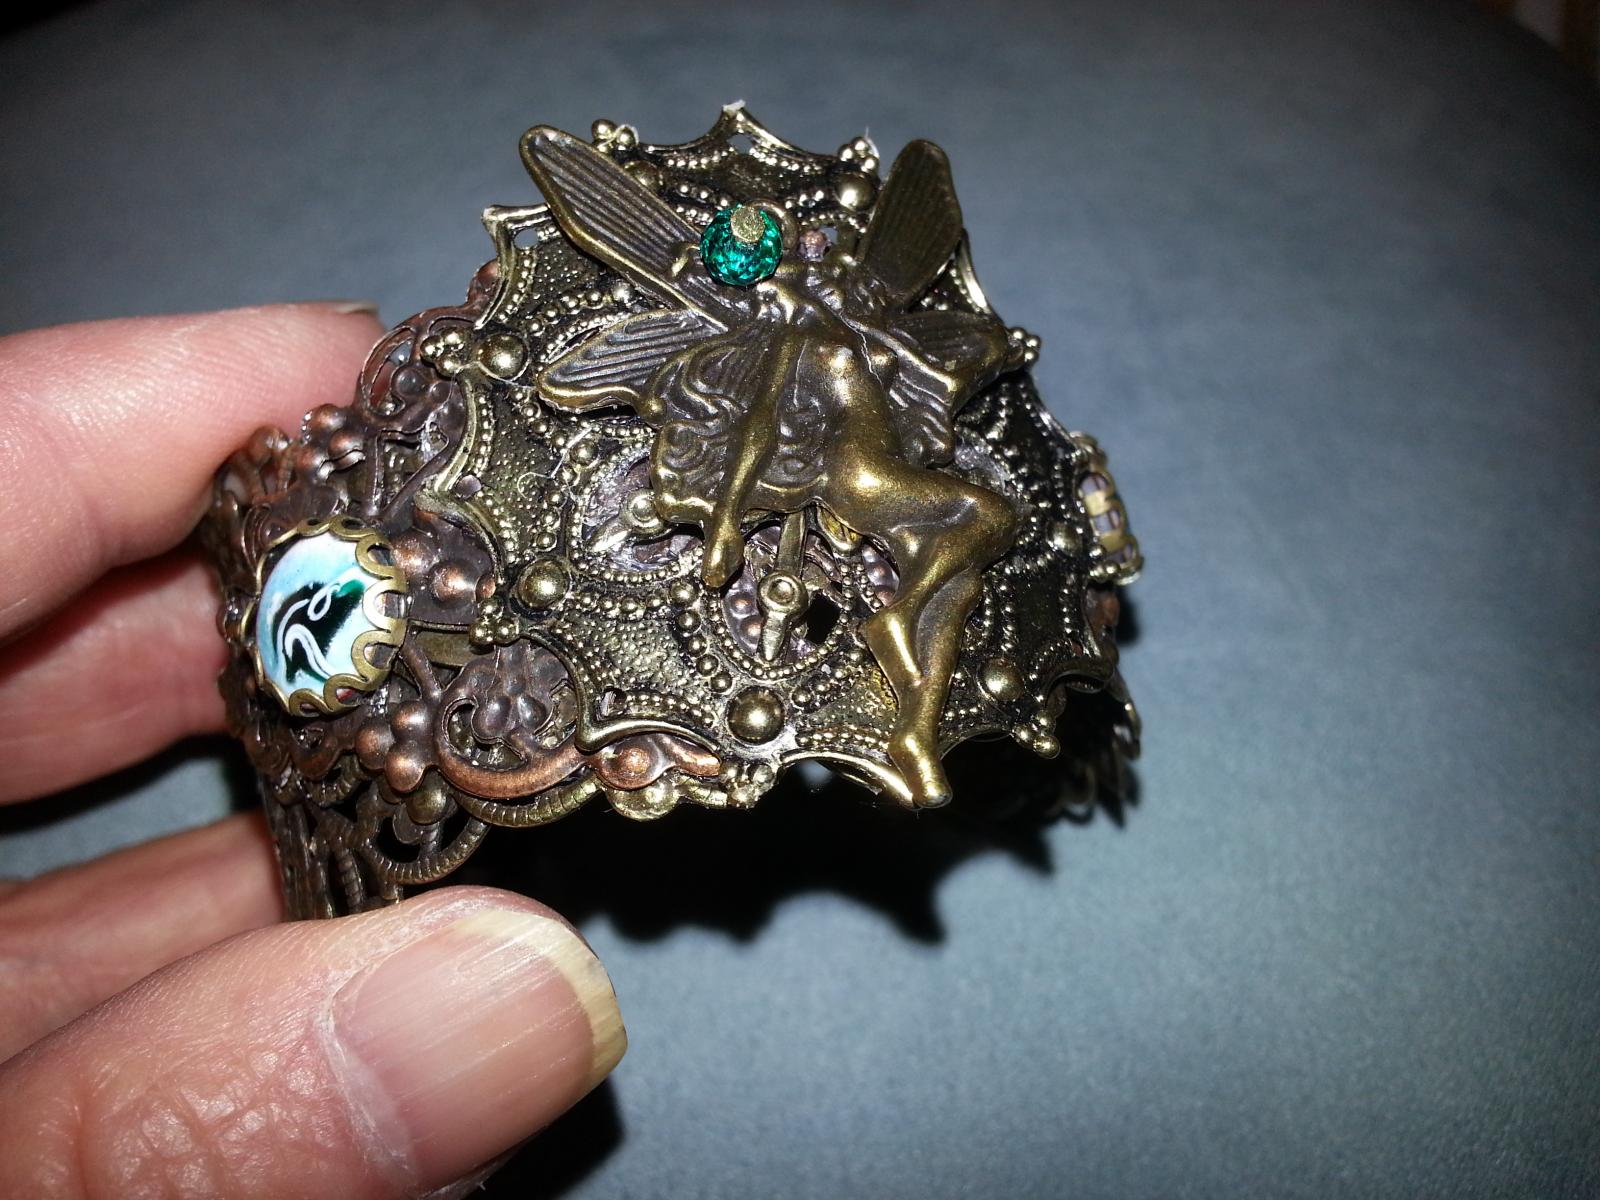
Fairy Cuff Bracelet
Tagged:
Geri Farkas
's Album:
Victorian Inspired
0 comments
Trish White
likes this